Your roof and your chimney. One crew, one plan, done right.
We're taking the chimney down to a clean tapered cap, rebuilding the roof edge where it stood, and re-laying your whole tile roof over new fire-resistant underlayment. Same tile goes back on, so it still looks like your home. It just stops being a worry.
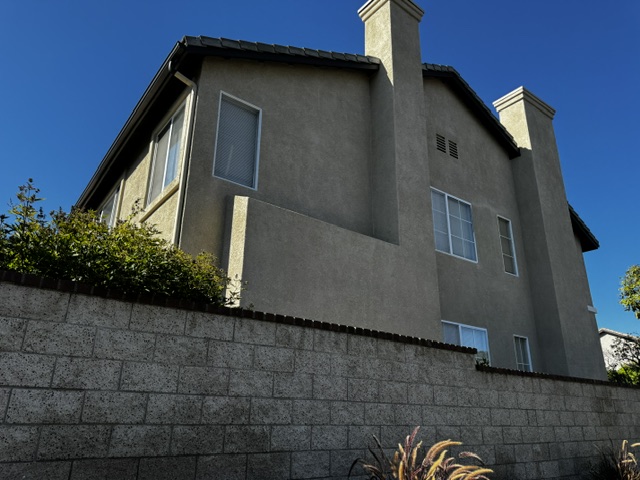
Two projects that belong together
Tile roof lift & relay
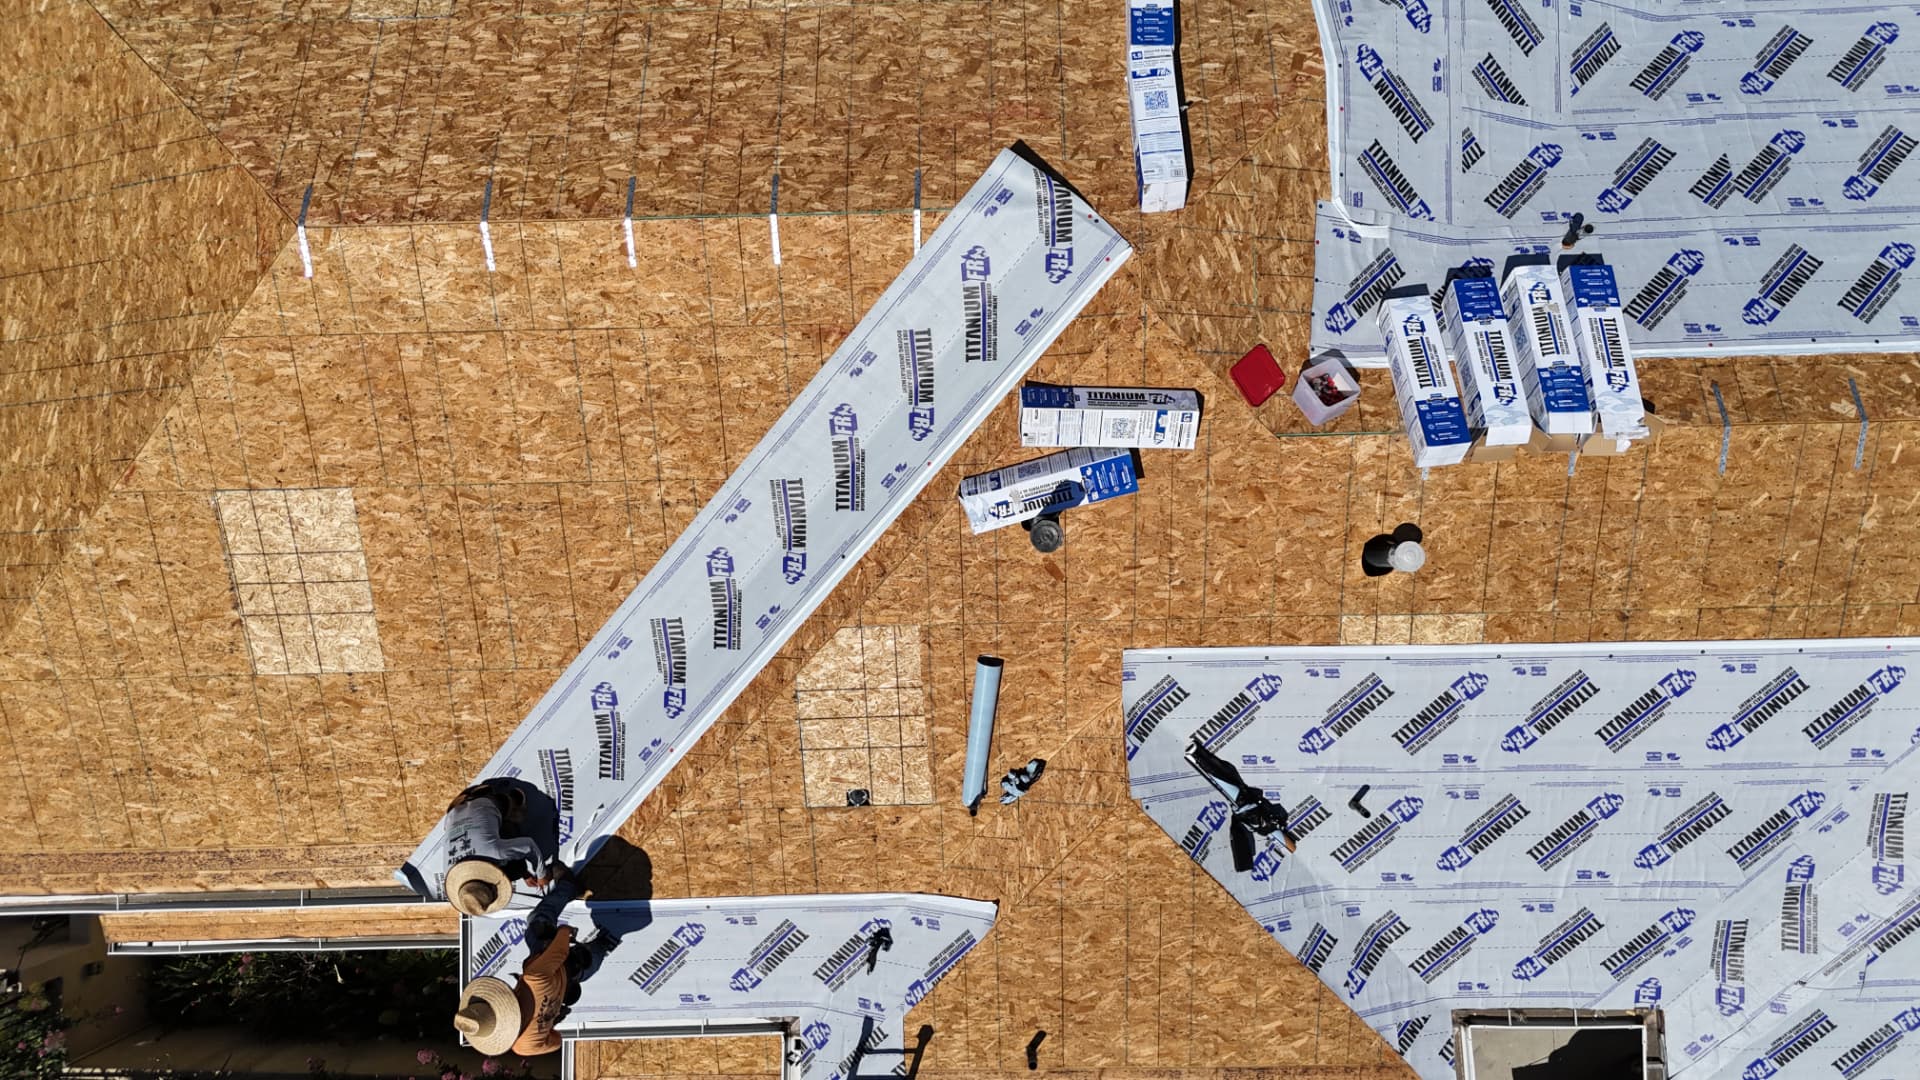
Your concrete tile is still good. What fails first is the underlayment under it. We pull the tile, put down new Titanium FR fire-resistant underlayment, and lay your tile back down.
- Remove and reinstall the existing tile system
- New premium Titanium FR underlayment
- Low-pressure cleaning on all 30 squares of tile
- City of Mission Viejo fees and permit included
Chimney removal & tapered cap
The chimney comes down from the roofline. The base gets rebuilt with a sloped stucco cap that runs into the wall, and the eave runs straight through where the chimney used to break it.
- Licensed architect's structural detail for bracing, cap framing and roof edge
- Controlled top-down demo of cap, spark arrestor and flue, all hauled away
- New bracing, sloped cap framing, fascia and soffit
- Three-coat stucco matched to your existing texture
Where it is now, and where it's going
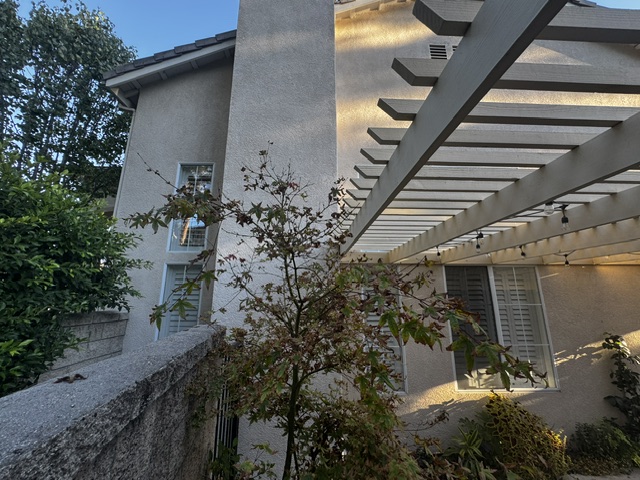
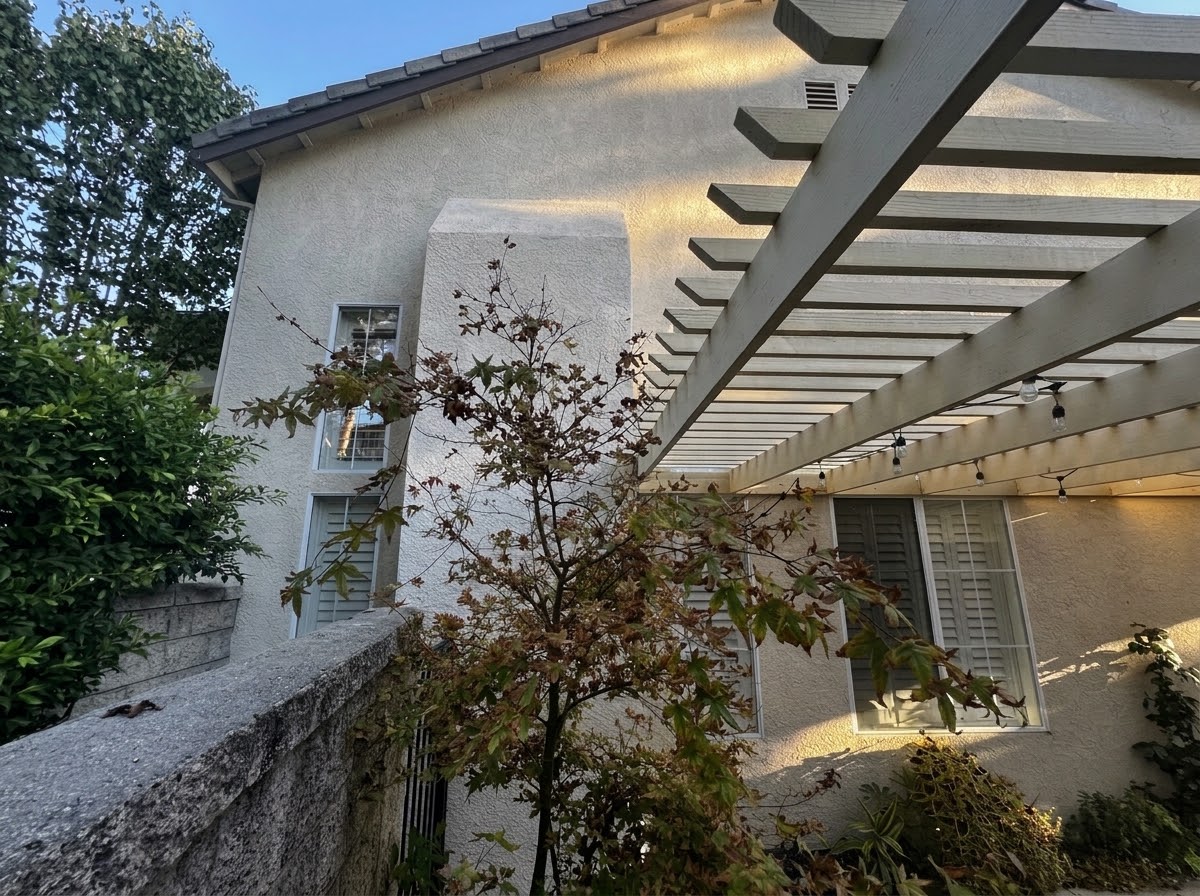
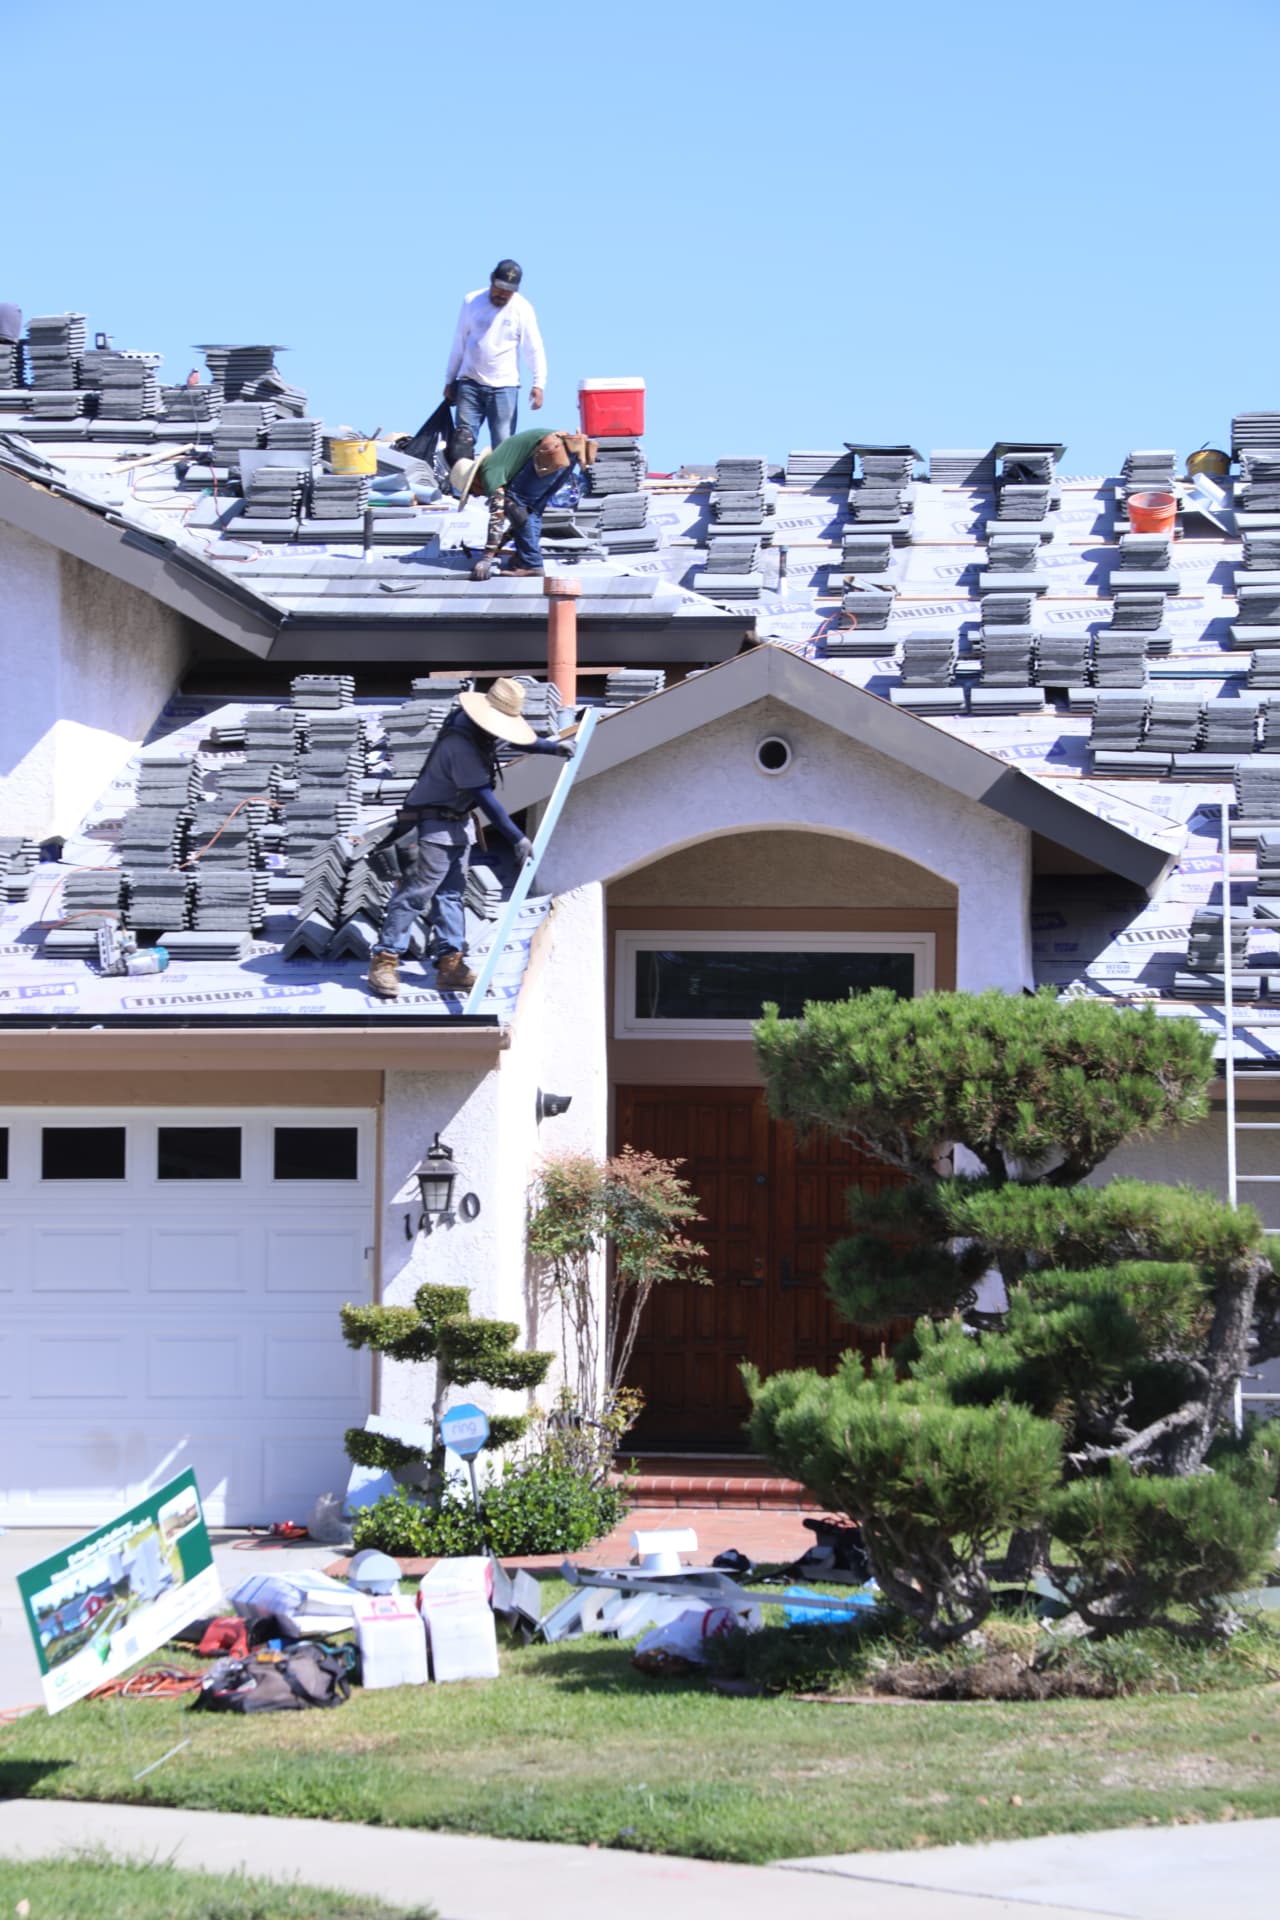
Your tile isn't the problem
Concrete tile can last 50+ years. The underlayment under it wears out long before that, and that's where leaks start. You don't need a new roof. You need new underlayment.
- 1Lift & stack. We carefully lift your tile and stack it on the roof.
- 2Strip & inspect. The old underlayment comes off and we check the deck while it's open.
- 3New underlayment. Titanium FR goes down, sealed to the deck, with new flashings.
- 4Relay the tile. Your tile goes back on. Cracked or broken pieces get swapped out.
Titanium FR by Owens Corning
The high-temp, fire-resistant layer under your roof. The part you never see, and the part that keeps water out. In California's wildfire zones a Class A roof is the standard, and Titanium FR helps get there with a single layer.
Two warranties. One roof.
The material is covered by Owens Corning, and the way we install it is covered by GreenCal.
¹ See the Owens Corning warranty for complete details, limitations and requirements. † Class A applies to specific tested roof assemblies. GreenCal workmanship warranty terms provided at completion.
Doing them apart means doing part of it twice
One roof, no patches
The new eave where the chimney stood gets tied into fresh underlayment as part of the relay. No new-to-old patch line waiting to leak later.
One HOA submittal
Canyon Estates wants an application for the roof and for the roofline change. One package covers both, so you wait on the committee once.
One crew on site
One team, one point of contact, and one stretch of construction at your house instead of two.
Start to walkthrough, in order
- 1Architect site visit. You and the architect set the final chimney height. The architect draws the structural detail.
- 2HOA approval. The application goes to the Canyon Estates ARC with drawings, tile info and photos.
- 3City permits. Pulled with the City of Mission Viejo once the plans are set.
- 4Start day. We confirm the height with you, verify gas and electric are disconnected, set scaffolding and protect the yard.
- 5Chimney down. Controlled top-down demo, then we open the chase, inspect the framing and brace it per the architect.
- 6Roof. Eave rebuilt at the old chimney, then the full tile lift, new Titanium FR underlayment and relay.
- 7Stucco. Paper, lath and a three-coat system on the chimney base and repaired wall. Optional paint for one even finish.
- 8Walkthrough. Full cleanup, then we walk the house with you.
We know what your ARC wants to see
Your guidelines only allow concrete tile, clay or terra cotta tile, or fiberglass composition shake. Asphalt shingles aren't allowed. We're putting your own concrete tile back on, so the look and the material both stay inside the rules.
We supply the contractor pieces: scope, product info, architect drawings and photos. You sign the application and collect the neighbor signatures. Final approval is the committee's call.
No surprises
Everything, in one number
Prices include taxes, labor and hauling. The architect's fee and the chimney permit are billed at actual cost with no markup, and we send you a secure link for the architect so design can start right away.
Percentages are of the full project total. The balance is what's left after the deposit and progress payments.